1. Marking of Fusion Zone and Scraping of Fusion Zone:
Different from the couplers, in Tapping Fittings, Fusion Zone is the area where the resistance wires exists and
which is located to the upper side of the fitting Before scraping, fusion zone must be marked with a marker on
the pipe (Fig.1 )
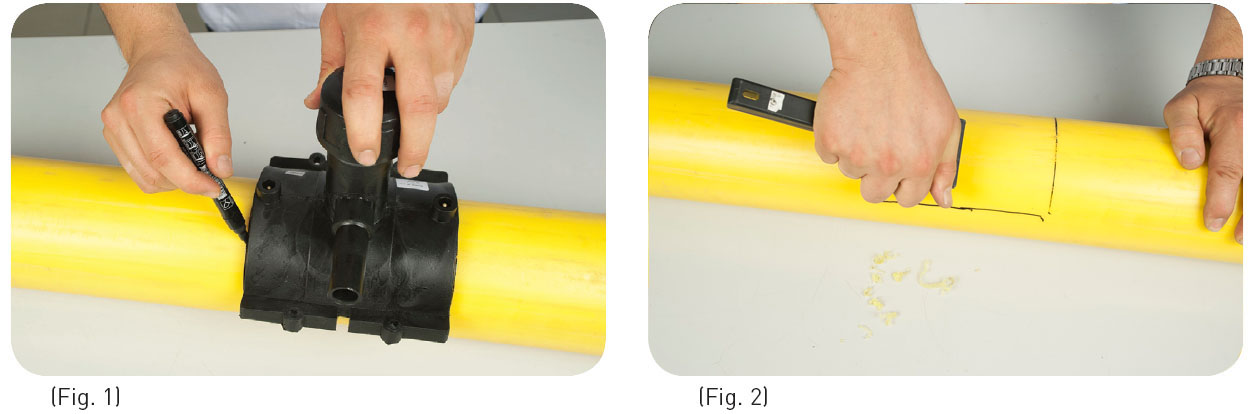
In order to remove the oxide layer, scrape carefully the whole circumference of the fusion zone using a hand scraper (Fig.2). This scraping operation must be carried out just before jointing.

In order to remove the oxide layer completely, the pipe must be scraped so that shavings are formed and marking line is removed. This operation ensures removal of oxide layer, which may cause unsuitability for the jointing. The prepared surface must be protected against unfavorable weather conditions.
2. Degreasing of the Fusion Zone: the prepared pipe and internal face of fitting must be degreased with a suitable cleaning agent and a white absorbent and nonfibrous paper. (Fig.3) As a cleaning agent, isopropyl alcohol can be used. (The alcohol content mustn’t be less than 96% by volume).
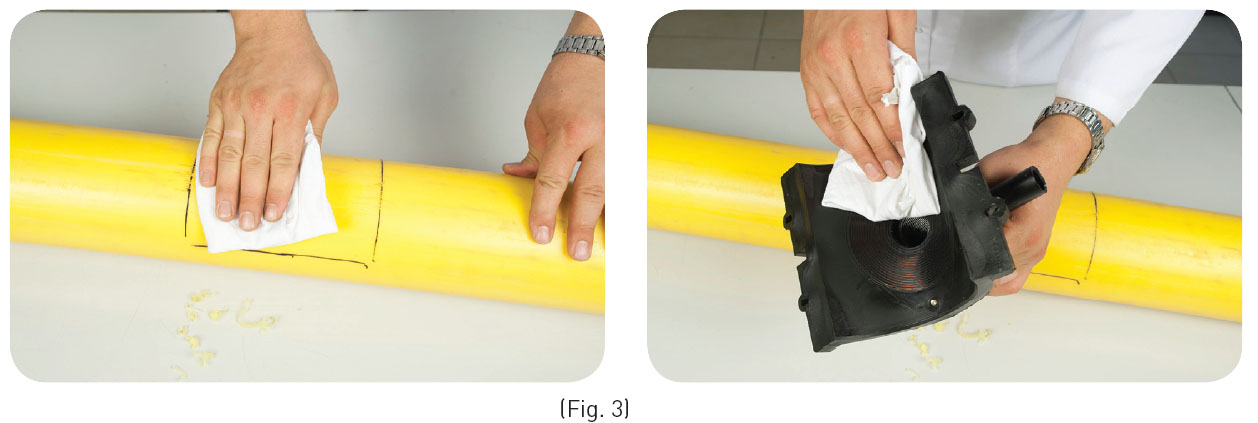
Degreased surfaces must be protected against dirt or unfavorable weather conditions.
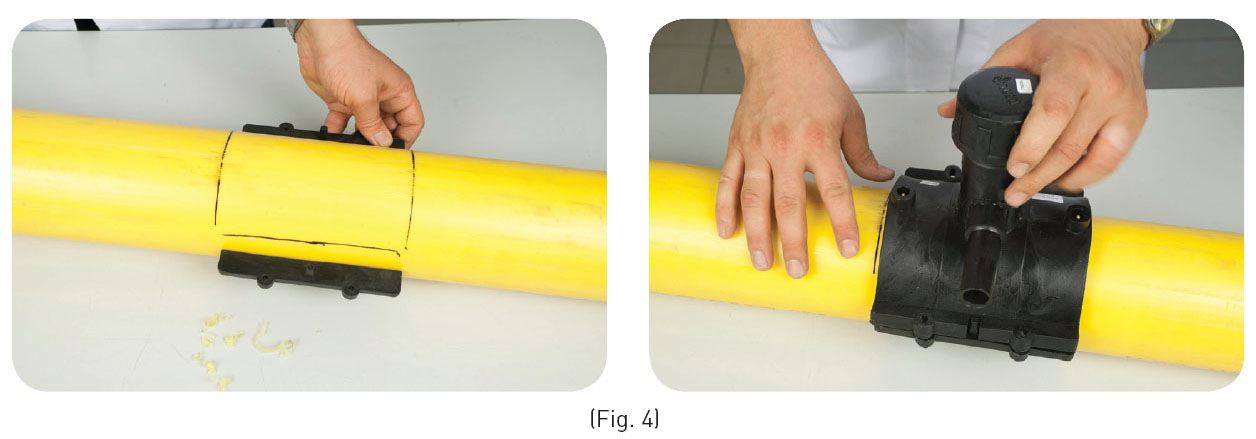
3. Attaching Tapping Tees: After correct positioning is done on the
prepared pipe, fitting is closed and fully tighten four screws uniformly by using a suitable screwdriver (Fig.4)
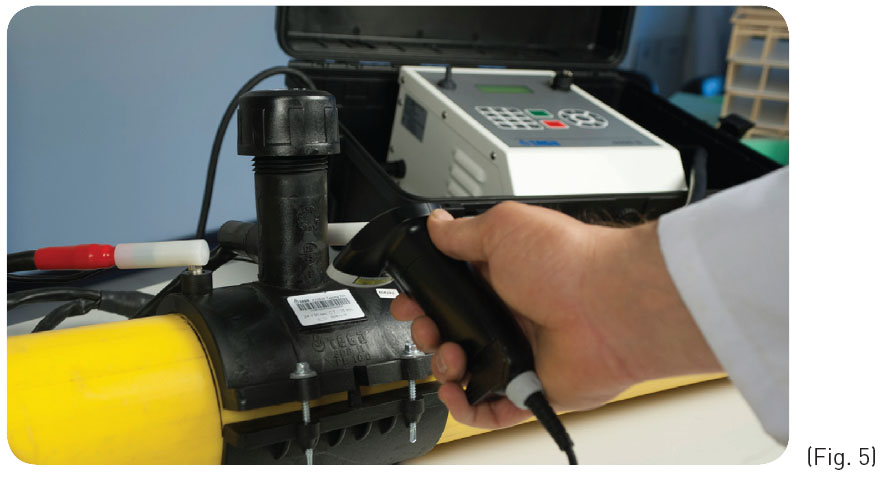
4. Fusion: Provided that the information given in the operating instructions are followed step by step and there is no problem, the fusion process can be started after fusion data of the tapping fittings is set to the fusion control unit by manually or by means of bar-code reader (Fig.5).
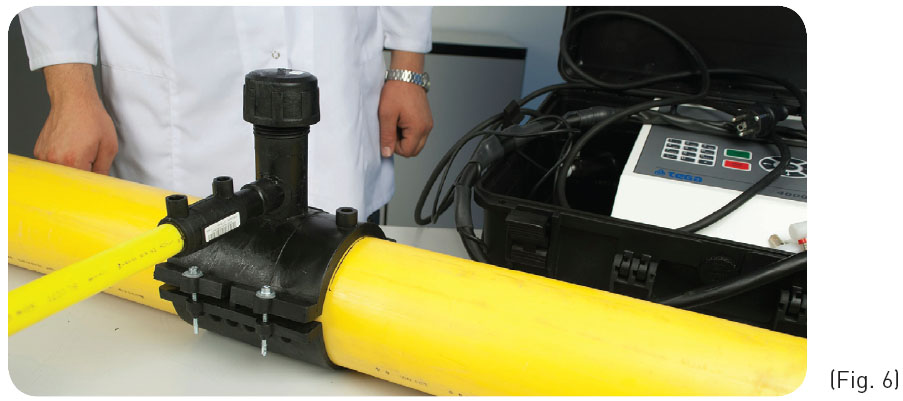
5. Testing the fusion of tapping tee before drilling main pipe: It is recommended to test fusion area before drilling the main pipe. Before doing this, service line should be connected to tapping tee (Fig. 6)
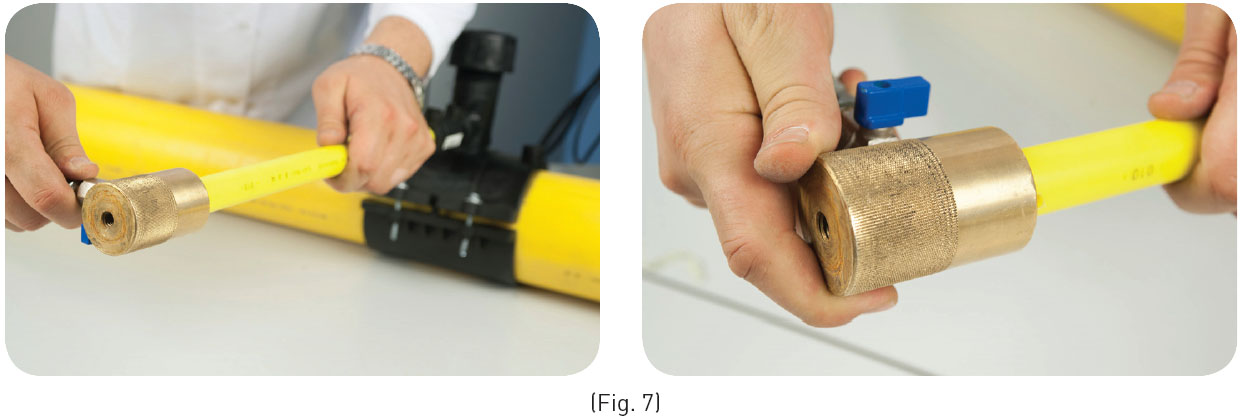
(Before Tapping operation The cooling times must be applied. Cooling times off tapping tee pieces are written on barcode labels)
Connect the test plug and service pipe (Fig. 7)
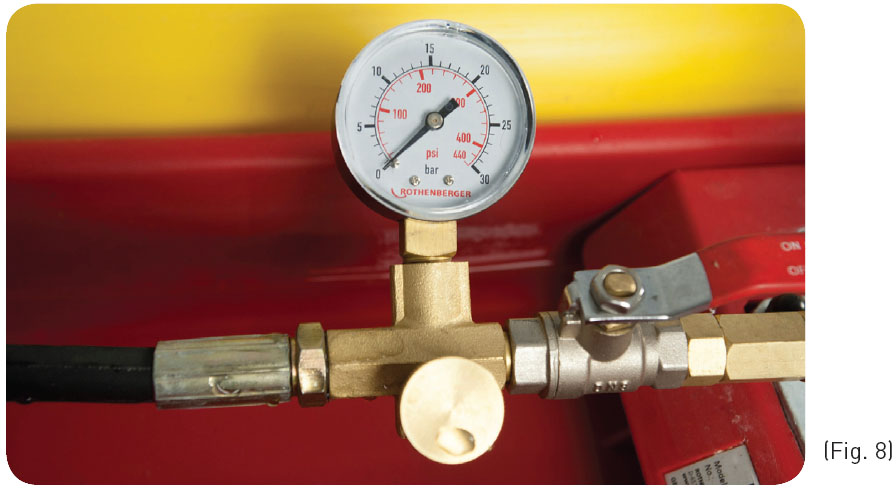
Apply test pressure and ensure that there is no leakage. Fig. 8)
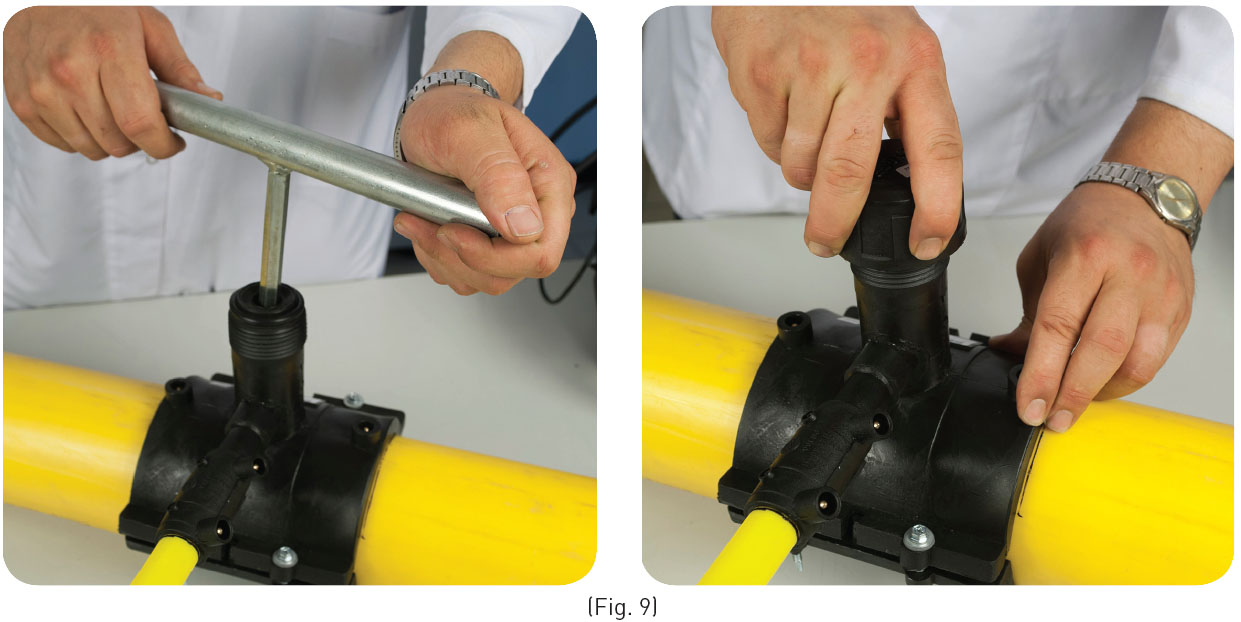
6. Carrying out the tapping operation:
The cap on the tapping fitting is first unscrewed and put somewhere it cannot become soiled. After that, by
means of a suitable hexagon wrench, the integral cutter is screwed down. (Fig. 9)